 How-to
Prevent Ice Dams on Your Roof: A Michigan Guide
Table of Contents
- What Causes Ice Dams on Roofs
- Step 1: Assess Your Attic Insulation to Prevent Ice Dams
- Step 2: Improve Roof Ventilation and Ice Dams Prevention
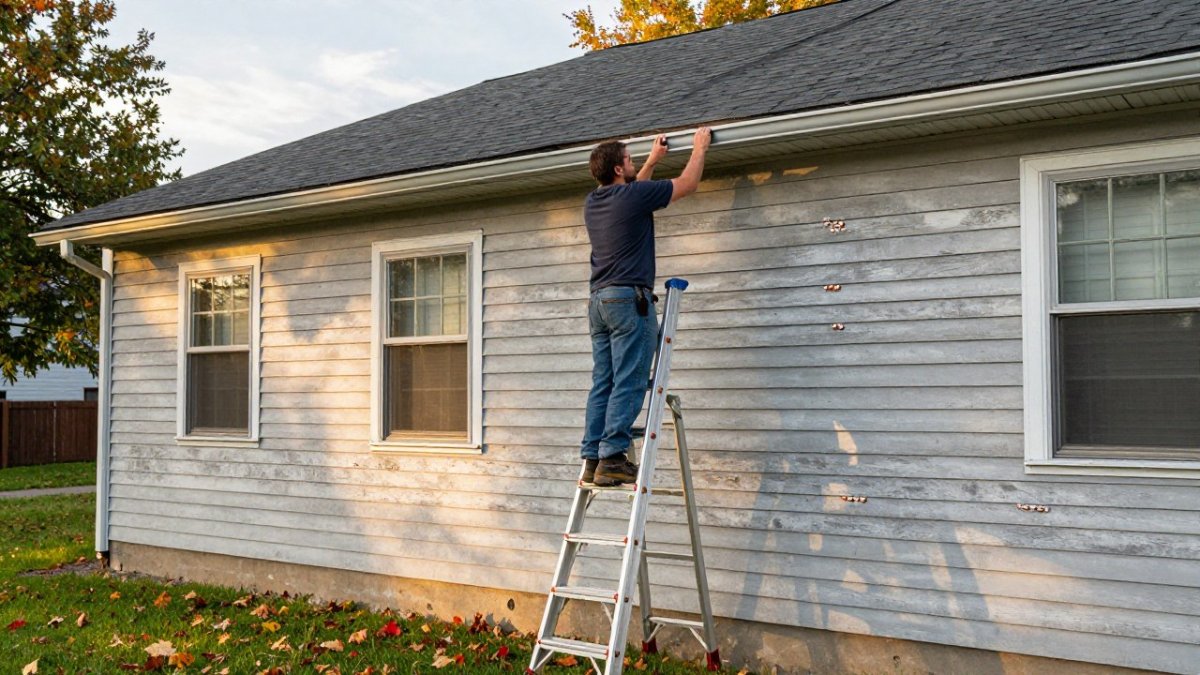
- Step 3: Clear Gutters and Downspouts Before Winter
- Step 4: How to Remove Snow from a Roof Safely
- Recognize Ice Dam Warning Signs Before Major Damage Occurs
- Common Mistakes That Make Ice Dams Worse
- Your Winter Roof Protection Checklist
- Frequently Asked Questions
Last Updated: October 9, 2026
What Causes Ice Dams on Roofs
To prevent ice dams roof in Michigan, you need to understand how they form: when your roof is warmer than the outside air, melting snow that refreezes at the cold eaves.
The root cause is almost always heat escaping from your attic.
The freeze-thaw cycle makes it worse: daytime melt and overnight refreeze thicken the dam and push water higher under your shingles.
Three factors work together to create ice dams:
- Attic heat loss (warm air escaping through the ceiling)
- Poor roof ventilation (not enough cold air flowing under the roof)
- Gutters clogged with debris (blocking water drainage)
Fix these three, and you prevent ice dams before they start.
Step 1: Assess Your Attic Insulation to Prevent Ice Dams
Your attic insulation is your first line of defense. Check what you have, then upgrade if needed.
Check Your Current Insulation Levels
Go into your attic with a flashlight and measure insulation depth between rafters and joists.
Recommendations call for R-38 to R-60 depending on climate zone; Michigan typically needs R-49 to R-60. Less than 10 inches deep means you're losing heat and melting snow on your roof.
Check these spots:
- Between floor joists (most common place to find thin insulation)
- Around pipes and vents (often left bare)
- Near the eaves (where ice dams form)
If you see gaps, missing sections, or insulation packed down from moisture, you've found your problem.
Seal Air Leaks in the Attic
Air leaks are worse than thin insulation. Warm air escapes through cracks and gaps, carrying moisture that rots your roof structure.
Common air leak spots:
- Around ductwork and HVAC pipes
- Where electrical wires pass through the ceiling
- Gaps around ceiling fans and light fixtures
Use caulk or spray foam to seal these gaps. Work systematically. Even small leaks add up to significant heat loss.
Step 2: Improve Roof Ventilation and Ice Dams Prevention
Ventilation works like a cooling system for your roof.
Most homes have blocked or inadequate ventilation: insulation pushed too close to the soffit, or soffit vents painted over or clogged with debris.
Keep insulation at least 3 inches from soffit vents to preserve a clear air channel to the ridge vent.
If your home has no ridge vent, add one.
Step 3: Clear Gutters and Downspouts Before Winter
Clogged gutters trap water behind ice dams and can't drain meltwater.
Clean your gutters twice: in fall after leaves drop, and again before the first freeze.
Remove leaves, twigs, and debris by hand or with a scoop, flush with a hose, and confirm water flows freely to the downspout.
Extend downspouts at least 4 feet from your foundation, pooling water can freeze and damage your foundation or basement.
Step 4: How to Remove Snow from a Roof Safely
Snow removal is the one prevention step you can take mid-winter, but it's also the most likely to put a homeowner in the hospital. Treat it as a ground-only job.
What You Can Safely Do From the Ground
A roof rake with a telescoping handle lets you pull snow off the eave zone from the ground. Work in this order:
- Stay back from the drip line. Falling snow and ice sheets release without warning. Keep your body, and anyone helping you, out from under the edge.
- Pull, don't push. Drag snow downslope toward you in short strokes. Pushing drives snow under shingles and can tear flashing.
- Target the first 3 to 6 feet. This eave zone is where the dam forms. You do not need a bare roof, you need the lower edge cleared so meltwater has somewhere to go.
- Leave a thin layer. Scraping down to shingles with a metal blade gouges the surface and strips granules. A plastic cutting edge is safer.
- Work from a stable surface. Never stand on a ladder in snow, and never lean a ladder against a gutter packed with ice.
What Not to Do
- Never walk the roof. A snow-covered roof hides ice, and a pitch that feels gentle from the ground is a fall hazard once you are on it.
- Never chip at ice with a hammer, axe, or chisel. You will puncture shingles and void any warranty coverage on the roof.
- Skip rock salt. Sodium chloride corrodes gutters, flashing, and fasteners, and it kills grass and shrubs below the drip line. If you use a melting agent at all, calcium chloride in a mesh bag laid at the dam edge is the least damaging option, and it still is not a substitute for fixing the attic.
When to Call a Professional
Call a licensed roofer or snow-removal contractor when any of these apply:
- The roof pitch is steep, or the eave is more than one story above grade.
- Ice is already locked in place and a rake will not break it loose.
- Snow depth on the roof is heavy enough that you are worried about the load itself, not just ice dams.
A professional crew uses roof-safe tools, fall protection, and steam or low-pressure methods that remove ice without cutting into the membrane. Steam is the standard approach for clearing an active dam because it melts the ice without the mechanical damage a chisel or an ice pick causes.
Book my free Roof Quote Today →
Michigan Winter Timing
Lake-effect belts and northern counties stack snow fast, and a clear roof on a mild afternoon can be an ice sheet by morning. Clear the eave zone after any snowfall deep enough to bury the lower roof edge, and again before a forecast warm-up. Don't wait for a leak, by then, snow removal is cleanup, not prevention.
Recognize Ice Dam Warning Signs Before Major Damage Occurs
Catch ice dams early. Watch for these signs:
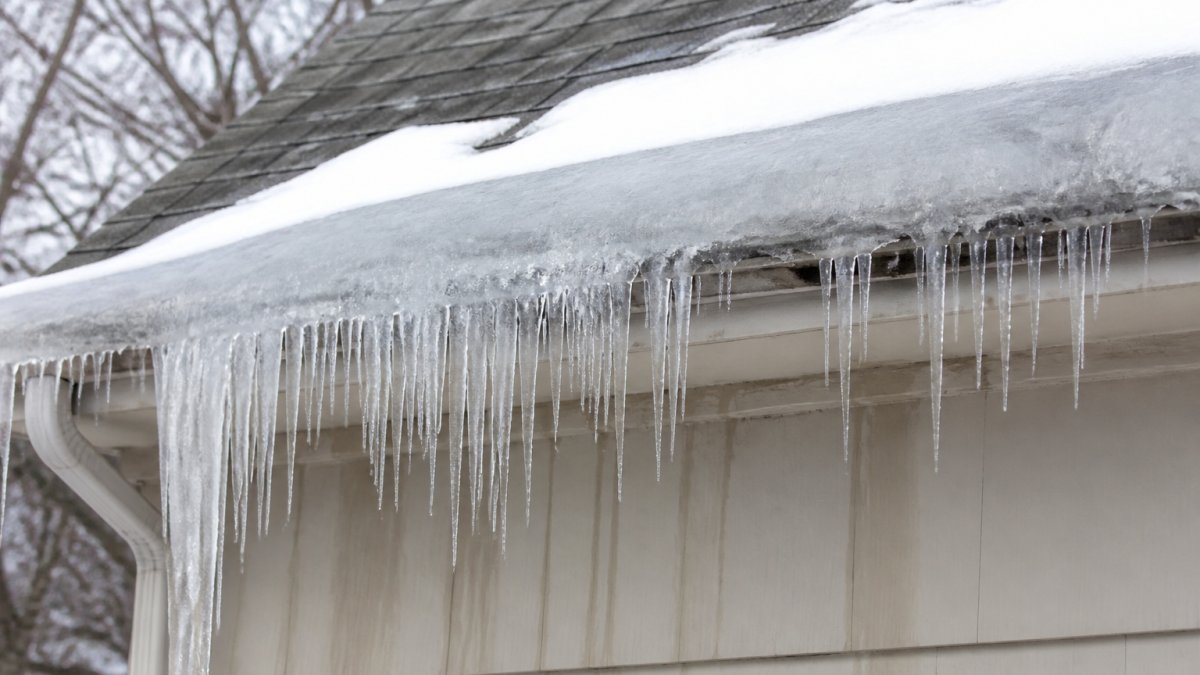
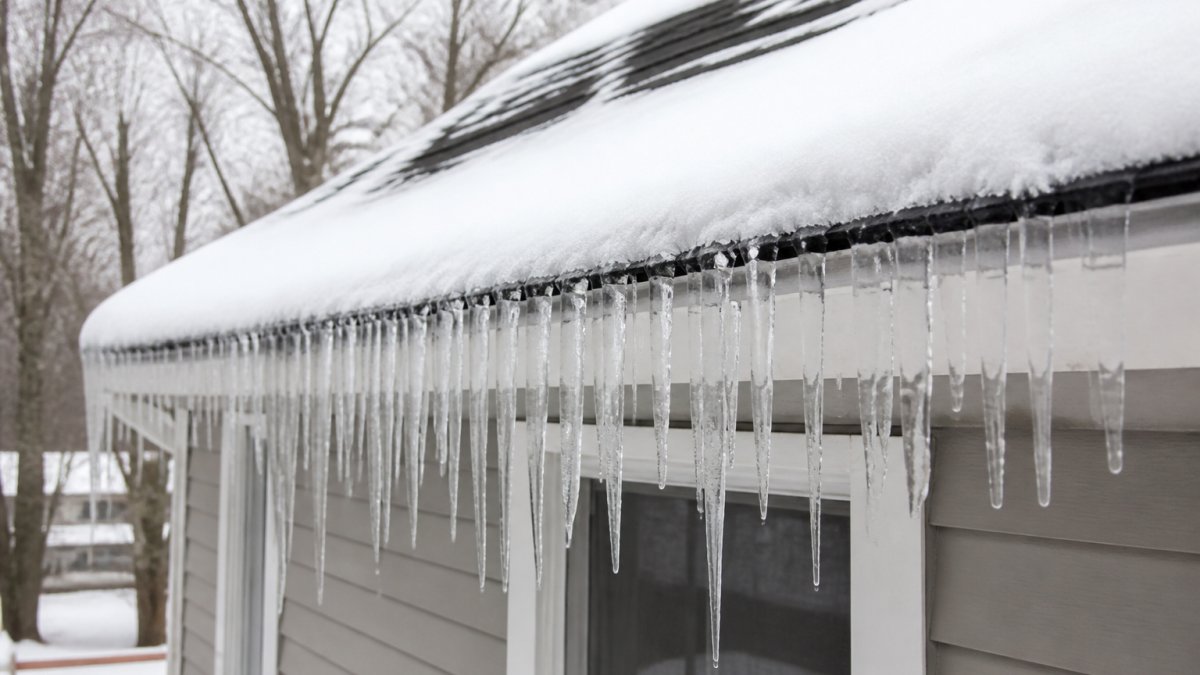
Visible ice buildup: Thick ice along the roof edge, especially at the eaves. Icicles hanging from gutters are a sign that water is backing up behind ice.
Water stains on ceilings: Brown or yellow stains mean water is leaking through.
Damp insulation in the attic: Check after a warm spell or rain. Wet insulation loses its R-value and invites mold.
Gutters pulling away from the house: Ice dams create enormous weight.
If you see any of these signs, the damage is already happening. Call Roof King LLC for an inspection.
Common Mistakes That Make Ice Dams Worse
Most ice dam advice fails because it treats every home the same. Before spending money, diagnose which cause is driving your problem, then fix the mistakes below.
Diagnose the Cause First
Use this checklist to narrow it down:
- Heat loss. Ice forms in a pattern tracing warm interior rooms, and the attic is noticeably warmer than outside air on a cold day. Insulation is thin, missing, or compressed, and you feel drafts near the attic hatch or recessed lights.
- Ventilation failure. Insulation is adequate but packed against the soffit, soffit vents are painted shut or buried in debris, or there's no high vent to exhaust air. The roof deck stays warm even with good insulation.
- Blocked drainage. Gutters and downspouts are full of leaves or ice, and water backs up behind the dam. This worsens an existing problem but rarely causes it alone.
If two or more apply, fix them in this order: air sealing, then insulation, then ventilation, then drainage. Doing them out of order wastes money.
The Mistakes That Undo Your Work
Insulating the attic floor without a ventilation channel. Blown-in insulation pushed against the soffit blocks the intake.
Using rock salt or an ice pick. Salt corrodes metal and kills landscaping.
Waiting for a leak. By the time water stains a ceiling, the damage is already inside the assembly.
Assuming ice dams are normal. They're a symptom, not a fact of winter.
Michigan Code and Climate Context
Two details matter more here than in milder climates:
- Ice barrier underlayment. Building codes in heavy-snow regions require a self-adhering ice-and-water shield along the eaves, in valleys, and around penetrations, under the shingles. If your roof lacks it, no amount of attic work fully protects the eave zone, and a re-roof is the time to add it.
- Freeze-thaw cycling. Repeated daytime melt and overnight refreeze thickens the dam and drives water higher under the shingles than a single cold snap would. That's why eave-zone detailing and drainage matter more than peak snow depth alone.
What to Expect From a Fix
A proper prevention scope includes air sealing the attic ceiling, bringing insulation to the recommended level for your climate zone, adding or clearing intake and exhaust ventilation, and confirming the eave has an ice barrier. Attic work is the highest-return piece because it addresses the root cause. Get a written scope naming each item.
Your Winter Roof Protection Checklist
Use this checklist to prepare your roof for winter:
| Task | Timing | Priority |
|---|---|---|
| Check attic insulation depth | September-October | High |
| Seal air leaks in attic | September-October | High |
| Clear gutters and downspouts | October-November | High |
| Inspect soffit vents for blockages | October | High |
| Remove leaves and debris from roof | November | Medium |
| Install or repair ridge vents | September-October | Medium |
| Trim tree branches overhanging roof | October | Low |
| Plan snow removal strategy | November | Medium |
Before the first snow:
- Attic insulation should be R-49 or higher
- All air leaks should be sealed
- Gutters should be clean and flowing
- Soffit vents should be clear
After heavy snow:
- Use a roof rake to remove snow from the eave zone
- Check ceilings for water stains
- Inspect gutters for ice dams
- Call a professional if water is leaking inside
Preventing ice dams on your roof in Michigan starts with the cause: warm air escaping from your attic. Insulation and air sealing stop the heat loss, ventilation keeps your roof cold, and gutter maintenance ensures water drains away.
If you've already spotted ice dams or water stains, Roof King LLC can help. We inspect attics, seal air leaks, and improve ventilation. Our team understands Michigan's climate and the specific challenges your roof faces.
Frequently Asked Questions
What causes ice dams to form on a roof?
Ice dams form when warm air from your attic melts snow on the roof deck. That meltwater runs down toward the cold eaves, where it refreezes into a dam. This happens when attic insulation is inadequate or air leaks allow heat to escape. The freeze-thaw cycle repeats as outdoor temperatures fluctuate, building up ice that blocks drainage and forces water back under your shingles.
Does attic insulation help prevent ice dams?
Yes. Proper attic insulation keeps warm interior air from heating your roof deck. Most homes need 12-16 inches of insulation depending on climate. Combined with air sealing to stop heat leaks around vents and electrical fixtures, adequate insulation maintains a cold roof surface that prevents the snow melt that causes ice dams. This is one of the most effective long-term prevention methods.
How can I prevent ice dams from forming on my roof?
Prevent ice dams by combining several steps: improve attic insulation and seal air leaks, ensure proper roof and attic ventilation to keep the roof deck cold, clean gutters and downspouts to allow drainage, and safely remove heavy snow from vulnerable areas. A professional roof inspection can identify which measures will work best for your home's specific configuration.
Should I remove snow from my roof to prevent ice dams?
Removing snow from the lower 3-4 feet of your roof (the eaves area) is the most effective emergency prevention step. This stops meltwater from refreezing at the cold edges. However, full roof snow removal is dangerous and usually unnecessary if you address the underlying heat loss and ventilation issues. Always prioritize safety, use a roof rake from the ground or hire a professional.