 How-to
How to Book a Commercial Roof Assessment in 2026
Last Updated: November 15, 2026
Quick Summary
To book a commercial roof assessment in 2026, contact a roofing contractor with your building address, approximate roof area, roof type and age, access method, and any deadline the report must meet. Schedule twice a year, plus a post-storm check, and confirm turnaround time in writing at booking.
- Schedule commercial roof inspections twice a year, one in fall and one in spring.
- Book a post-storm inspection within days of hail, high wind, or heavy ice.
- Locate manufacturer warranty documents before the visit, since they are the hardest item to find.
- Confirm roof access, escort needs, and parking at booking so the visit is not delayed.
- Compare proposals line by line on scope and deliverables, not on the bottom number.
Table of Contents
- Why Booking a Commercial Roof Assessment Matters in 2026
- Commercial Roof Inspection Frequency: How Often to Schedule
- How to Prepare Before You Book Your Assessment
- Commercial Roof Inspection Steps: What to Expect on Assessment Day
- Your Commercial Roof Assessment Checklist
- Reading Your Commercial Roof Inspection Report
- Comparing Assessment Proposals and Scheduling the Work
- Book My Free Roof Quote With Roof King LLC
- Frequently Asked Questions
Why Booking a Commercial Roof Assessment Matters in 2026
A commercial roof assessment is a documented, professional inspection of a building's roof system that records its current condition, identifies defects, and sets priorities for repair and maintenance.
Here's the part most owners get wrong: they wait for a leak. By then, water has already traveled through insulation and decking, and the repair bill covers far more than roofing.
A roof assessment catches problems while they are still cheap to fix. It also creates a written record you can hand to an insurer after a storm. Book commercial roof assessment in 2026 while the schedule is open, not after the first ceiling stain appears.
Commercial Roof Inspection Frequency: How Often to Schedule
The standard answer is twice a year, plus a follow-up after any severe weather event. A commercial roof inspection frequency of two scheduled visits gives you one check before winter and one before summer, when thermal movement is hardest on membranes.
Twice-Yearly and Seasonal Inspection Windows
A twice-yearly inspection rhythm works because roofs fail seasonally, not randomly.
- Fall inspection: clears drains before snow and ice load arrives
- Spring inspection: catches freeze-thaw damage and winter seam splits
- Six-month interval: keeps small defects from becoming leaks
- Seasonal inspection records: build a maintenance history insurers can read
Post-Storm and Severe Weather Checks
Schedule a post-storm inspection within days of hail, high wind, or heavy ice. Damage from these events often hides in seams and around penetrations until the next rain.
Document what you find with dated photos and notes. That record supports a storm damage claim later. Our guide on 7 Steps to Document Storm Damage for Insurance Claims walks through the paperwork in order.
How to Prepare Before You Book Your Assessment
Preparation is what separates a useful assessment from a wasted visit. Property managers who gather building and roof history, access logistics, a list of known trouble spots, and a clear idea of what decision the report needs to support tend to get more from the visit.
Gather the Building and Roof File First
Pull together whatever exists, even if it is incomplete:
- Prior inspection reports and repair invoices, sorted by date
- The original roof specification or as-built drawings, if available
- Manufacturer warranty documents and any transfer or assignment paperwork
- A log of active leaks, stained ceiling tiles, and past patch jobs
- Records of any roof-mounted equipment added since the roof was installed
A common pattern is that the warranty file is the hardest item to find and the one that matters most. If repair work is later recommended, the assessor needs to know whether the proposed method could void coverage. Locate the warranty before the visit, not after.
Confirm Access, Safety, and Site Logistics
Roof access is where bookings most often stall. Before you request an assessment, confirm:
- How the roof is reached, interior hatch, exterior ladder, or stair penthouse
- Who holds keys or access cards, and whether an escort is required
- Whether the building has restricted areas, secure tenant space, or badging requirements
- Whether the roof has guardrails, warning lines, or fall-protection anchor points
- Where the crew can stage equipment and park
- Which tenants or departments need advance notice of noise, vibration, or ceiling access
Watch out: if the only roof access is a hatch in an occupied tenant space, the visit may need to be scheduled outside business hours, and that constraint should be raised at booking rather than on arrival.
Note the Known Trouble Spots
Walk the interior before the assessment and mark every stain, sag, or damp spot on a simple floor plan. Note the date each one first appeared. Tell the assessor what you already suspect, a good one spends less time hunting and more time confirming. Interior clues also tell the assessor where to concentrate moisture testing on the roof above.
Prepare Differently by Roof System
The preparation list shifts with the roof type, and it helps to say which system you have when you book:
- Single-ply membrane (TPO, EPDM, PVC): note seam locations, any prior seam repairs, and whether the membrane is mechanically attached, ballasted, or adhered.
- Metal: note the panel profile, fastener type, and any known fastener back-out or oil-canning.
- Built-up and modified bitumen: note the number of plies if known, the surfacing (gravel, coating, cap sheet), and any prior patching.
- Coated or restored roofs: note the coating manufacturer and application date, since recoating schedules and warranty terms depend on them.
What to Have Ready When You Submit a Request
When you contact a contractor, have these details on hand so the request can be scoped without a second call:
- Building address and approximate roof area in square feet
- Roof type and approximate age
- Number of stories and access method
- Whether the request is a one-time condition assessment or the start of a maintenance program
- Any deadline the report must meet, a refinance, an insurance renewal, a lease turnover, or a planned capital budget cycle
- Who will receive the report and who approves repair spending
What Happens After You Submit a Request
When you contact a contractor, ask at booking how long each stage takes. Turnaround time varies with roof size and testing scope, and a written expectation up front prevents surprises later.
Commercial Roof Inspection Steps: What to Expect on Assessment Day
Assessment day follows a predictable sequence. Expect an arrival briefing, a documented walk of the roof, targeted moisture testing, and a closing summary of what was found.
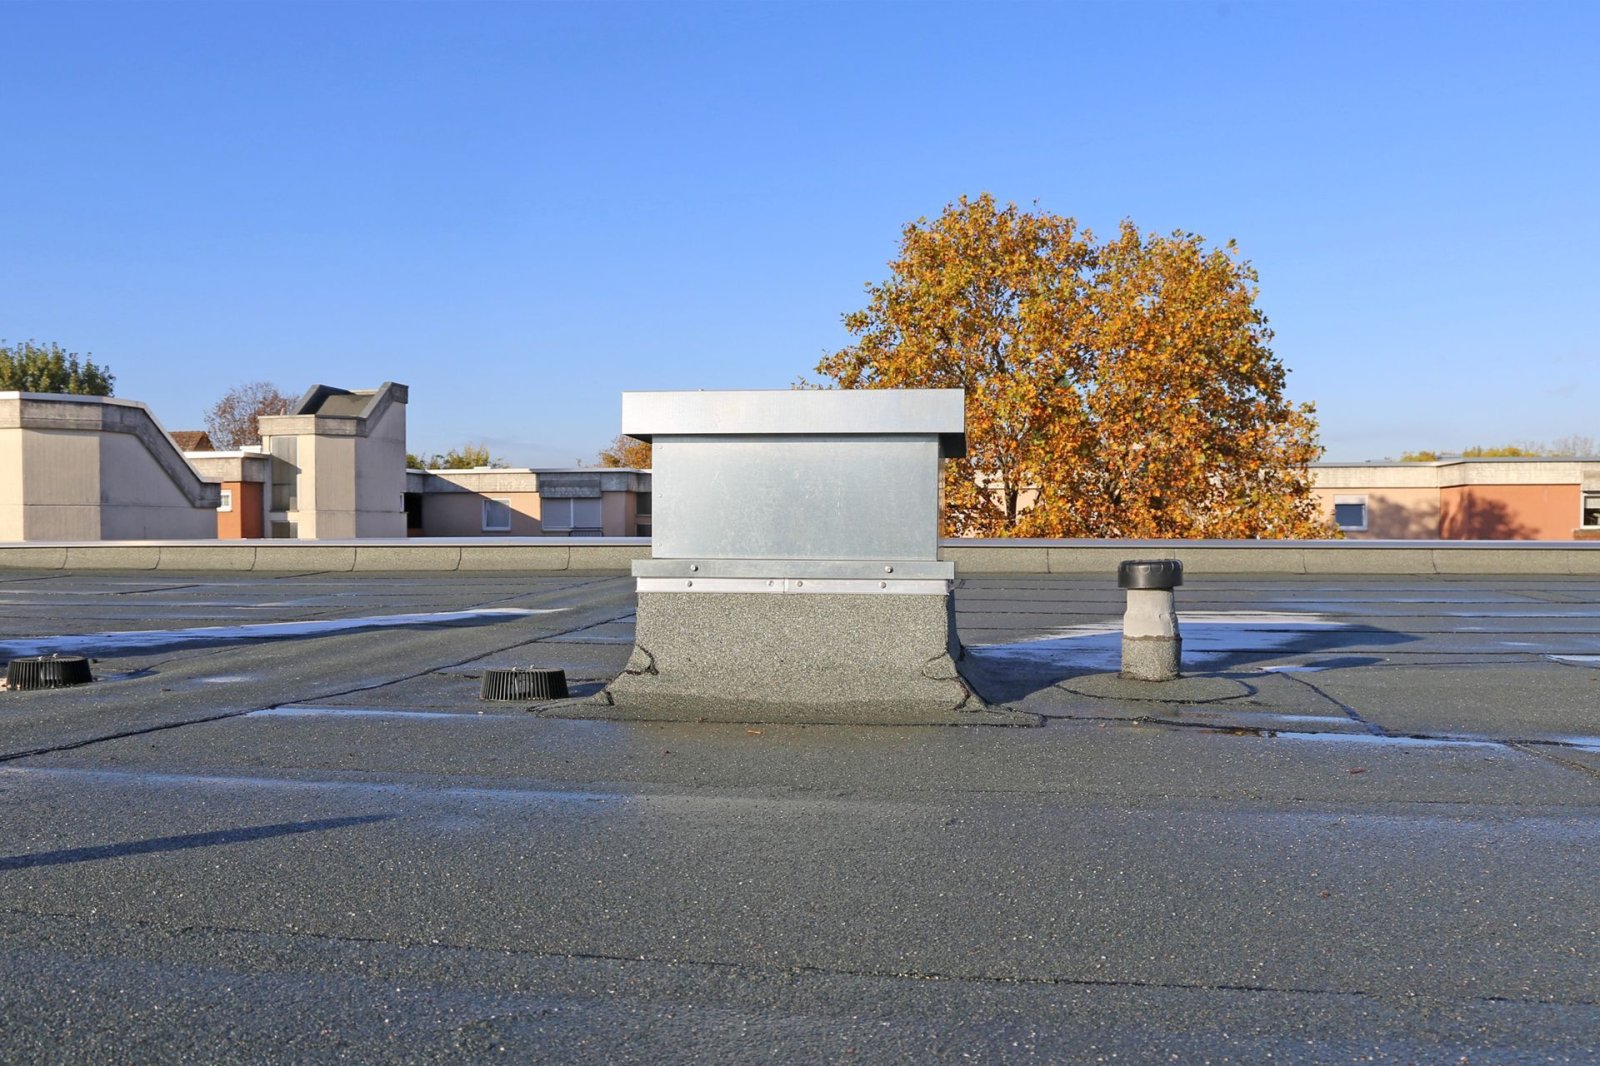
The commercial roof inspection steps we follow look like this:
- Review drawings, prior reports, and warranty terms
- Walk the interior for stains, sagging, and daylight
- Inspect the roof surface, seams, and flashing
- Test suspect areas for moisture
- Photograph and map every defect
- Check drains, scuppers, and ponding
- Deliver a written report with repair priorities
For a fuller walkthrough of the visit itself, see professional roof inspection services: complete guide.
Your Commercial Roof Assessment Checklist
A commercial roof assessment checklist keeps the visit consistent and makes reports comparable year over year. Use it to confirm the inspector covered every system.
| Area | What to Check | Why It Matters |
|---|---|---|
| Surface and membrane | Blisters, splits, scuffs, UV wear | Early membrane failure leads to leaks |
| Seams and flashing | Open laps, lifted edges, failed sealant | Most leaks start at terminations |
| Penetrations and curbs | Boot seals, pitch pans, HVAC curbs | Equipment bases move and open gaps |
| Drainage | Clogged drains, scuppers, ponding | Standing water shortens roof life |
| Interior | Stains, sagging deck, damp insulation | Confirms water is already inside |
Surface, Membrane, Seams, and Flashing
Start with the field of the roof. Look for blisters, ridging, and scuffed traffic paths. Then check every seam and flashing detail, because that's where water gets in.
Drainage, Ponding Water, and Rooftop Equipment
Ponding water that sits more than 48 hours after rain signals a drainage or slope problem. Check drains, scuppers, and downspouts for debris. Around rooftop equipment, inspect HVAC curbs and pipe boots for cracked sealant and lifted metal.
If you're building your own list, our article on how to know what to look for during a roof inspection covers the details to record.
Reading Your Commercial Roof Inspection Report
Your commercial roof inspection report should tell you three things: what's wrong, how urgent it is, and what it will take to fix. If it doesn't, ask for a revision.
Look for:
- Photographic documentation tied to a roof map
- Condition ratings by area, not just a single grade
- Repair recommendations sorted into urgent, planned, and monitor
- Moisture readings with locations noted
- Warranty notes where work could affect coverage
The NRCA roof inspection guidance recommends documenting conditions in writing with photos, which is the standard we hold our own reports to.
Comparing Assessment Proposals and Scheduling the Work
Compare proposals line by line, not by the bottom number. A low bid that skips moisture scanning or photographic documentation costs more later, because the report it produces cannot support a repair decision or an insurance claim.
Scope Checklist for Comparing Proposals
Put every proposal side by side against the same list:
- Roof area covered: is the whole roof included, or only the field with core cuts priced separately?
- Diagnostic methods: visual walk only, or infrared scan, moisture meter readings, and core samples where needed?
- Interior inspection: are ceiling spaces, deck underside, and insulation checked, or is the visit roof-only?
- Photographic documentation: are photos tied to a roof map or plan, or delivered as an unlabeled gallery?
- Condition ratings: is condition reported by roof area or section, or as a single overall grade?
- Repair recommendations: are they sorted by urgency and priced separately, or bundled into one lump figure?
- Warranty review: does the proposal include a check of manufacturer warranty terms that could affect recommended repairs?
- Deliverables and format: written report, digital file, roof plan markup, and whether a walkthrough call is included.
- Exclusions: what is explicitly not covered, core cuts, lab testing, drain disassembly, equipment curb repairs, or work above a certain height?
- Turnaround time: when the report will be delivered, stated in writing.
- Follow-up: is a re-inspection or maintenance schedule included, or priced as a separate service?
Watch out: a proposal that lists a single lump-sum price with no scope breakdown makes it impossible to tell what was excluded, and exclusions are where budgets go wrong.
Compare Deliverables, Not Just Price
Two proposals can look similar on paper and produce very different reports. Ask each contractor to describe, or show a sample of, the report you will receive. A useful report maps every defect to a specific roof area, includes moisture readings with locations, separates urgent repairs from planned and monitor-only items, and notes where work could affect warranty coverage.
If a proposal cannot describe its report format, treat that as a scope gap rather than a formatting preference.
Turn Findings Into a Maintenance Plan and Capital Budget
The assessment is only useful if it drives decisions. Once the report is in hand, sort findings into three buckets:
- Urgent: active leaks, open seams, failed flashing, or safety hazards, address before the next weather event.
- Planned: defects that will worsen within one to three budget cycles, schedule and fund them.
- Monitor: items to re-check at the next inspection, track them so they do not become surprises.
Use the planned bucket to build a capital budget line for roof work, and use the monitor bucket to set the agenda for the next assessment. A twice-yearly inspection rhythm only pays off if each report feeds the next one.
Schedule the Work Without Losing the Record
When you select a contractor, confirm the start date, the sequence of work, and how updates will be communicated. For guidance on choosing and hiring local roofing experts, see Roof Repair Contractors: How to Choose and Hire Local Experts. Keep the assessment report, the selected proposal, and the completed work invoices together in one file. That file becomes the maintenance history that supports warranty claims, insurance documentation, and future assessments, and it is the record a buyer or lender will ask for if the building changes hands.
Book My Free Roof Quote With Roof King LLC
Storm season doesn't wait for a convenient week. The best time to book a commercial roof assessment is before you need one.
We're a lifelong local business based in Tecumseh with specialized knowledge of Michigan's climate conditions. Our team provides comprehensive insurance claim assistance, so damage gets documented properly from the first visit.
Get started with Roof King LLC and put your roof on a schedule you control. Reach out through our contact page to request your free roof quote.
Your roof is a system, and systems fail slowly before they fail suddenly. Book the assessment while the calendar is open, get the report in writing, and let a local team who understands this climate keep your building protected.
Frequently Asked Questions
How much does a commercial roof assessment cost?
Pricing for a commercial roof assessment depends on the building size, roof system, access difficulty, and how much documentation you need. Some contractors bundle the assessment into a repair or maintenance agreement, while others charge separately. Roof King LLC provides a free roof quote, so ask for a written scope before you commit. Get the proposal in writing and confirm what the assessment includes, such as moisture scanning, core sampling, or a photographic report, so you can compare offers fairly.
How often should a commercial roof be inspected?
Most commercial roofs benefit from a twice-yearly inspection, typically in spring and fall, plus a post-storm check after any severe weather event. A six-month interval catches small seam and flashing problems before they become leaks. Buildings with heavy foot traffic, older membranes, or lots of rooftop equipment may need more frequent visits. Following a consistent commercial roof inspection frequency keeps your maintenance history complete and makes insurance documentation easier when storm damage occurs.
What should I prepare before booking a commercial roof assessment?
Gather your maintenance history, any past inspection reports, warranty documents, and a list of known leaks or problem areas. Note the roof age, membrane type, and whether tenants or staff need advance notice for access. Confirm who will escort the inspector and how rooftop equipment will be handled. Having this ready speeds up the visit and helps the inspector focus on the commercial roof assessment checklist items that matter most for your building.
What happens during a commercial roof assessment?
A typical commercial roof assessment involves walking the roof surface, checking the membrane, seams, flashing, penetrations, and drainage, and looking for ponding water and moisture intrusion signs. Ask any contractor you are considering to describe its inspection methods and report format in writing before you commit.