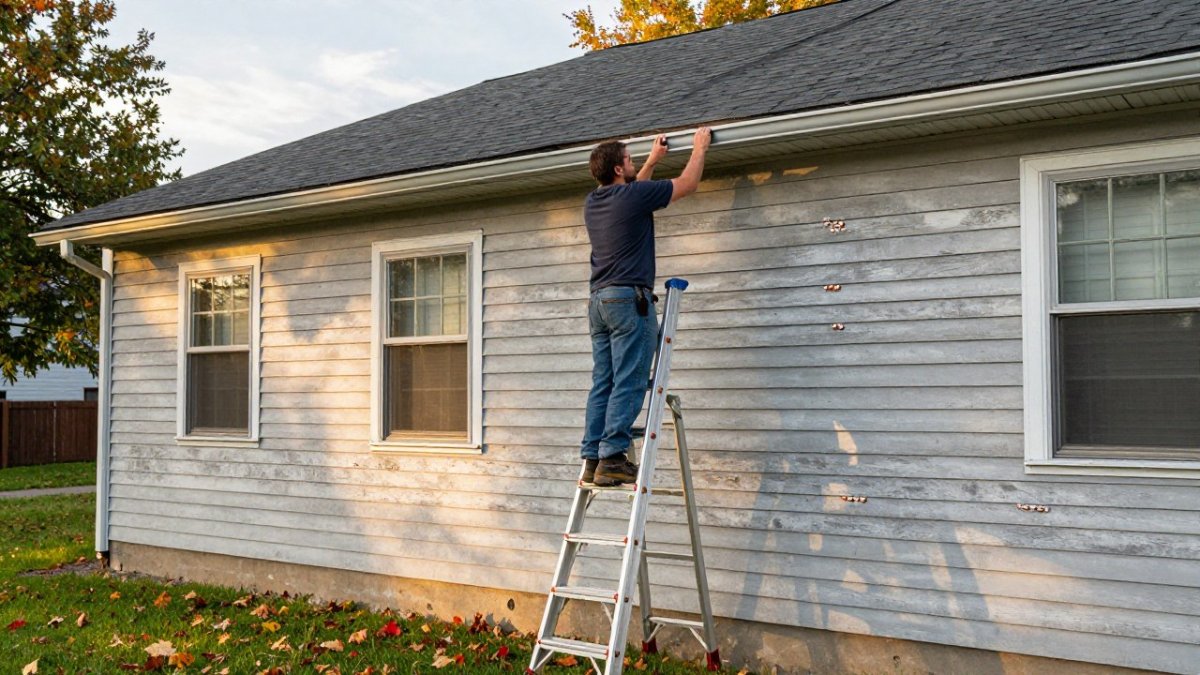
 How-to
How to Document Roof Storm Damage: A Step-by-Step Guide
Table of Contents
- What to Do Immediately After a Storm
- Roof Damage Photo Documentation: Capturing Clear Evidence
- Storm Damage Roof Inspection Checklist
- How to Describe Roof Damage to Insurance
- Roof Storm Damage Claim Timeline and Deadlines
- Creating Your Evidence Log and File-Naming System
- Distinguishing Storm Damage from Wear and Maintenance Issues
- Frequently Asked Questions
Last Updated: October 11, 2026
What to Do Immediately After a Storm
The first 24 hours after a storm are critical. Your actions now determine whether you can successfully document roof storm damage for an insurance claim later. Move quickly, but move safely.
Once everyone is safe, walk around your home's exterior from ground level. Look for obvious damage: missing shingles, dents in gutters, broken branches, or debris. Don't climb onto your roof yet. Take photos with your smartphone.
Call your insurance company within 24 to 48 hours. Ask what documentation they need, whether temporary repairs are allowed, if they'll send an adjuster, and what your claim deadline is.
Document the storm: date, time, and weather type. Check local weather reports for official storm data to prove severe weather occurred in your area.
Avoid permanent repairs until your insurer approves them. Temporary fixes (tarping, caulking) are fine; keep receipts for emergency work.
Roof Damage Photo Documentation: Capturing Clear Evidence
Clear photos are how you document roof storm damage for your insurance claim. Good photos win claims; poor photos lose them.
Photograph each side of your roof from ground level using your smartphone. Take wide shots showing the overall roof slope and roofline, then zoom in on specific damage areas.
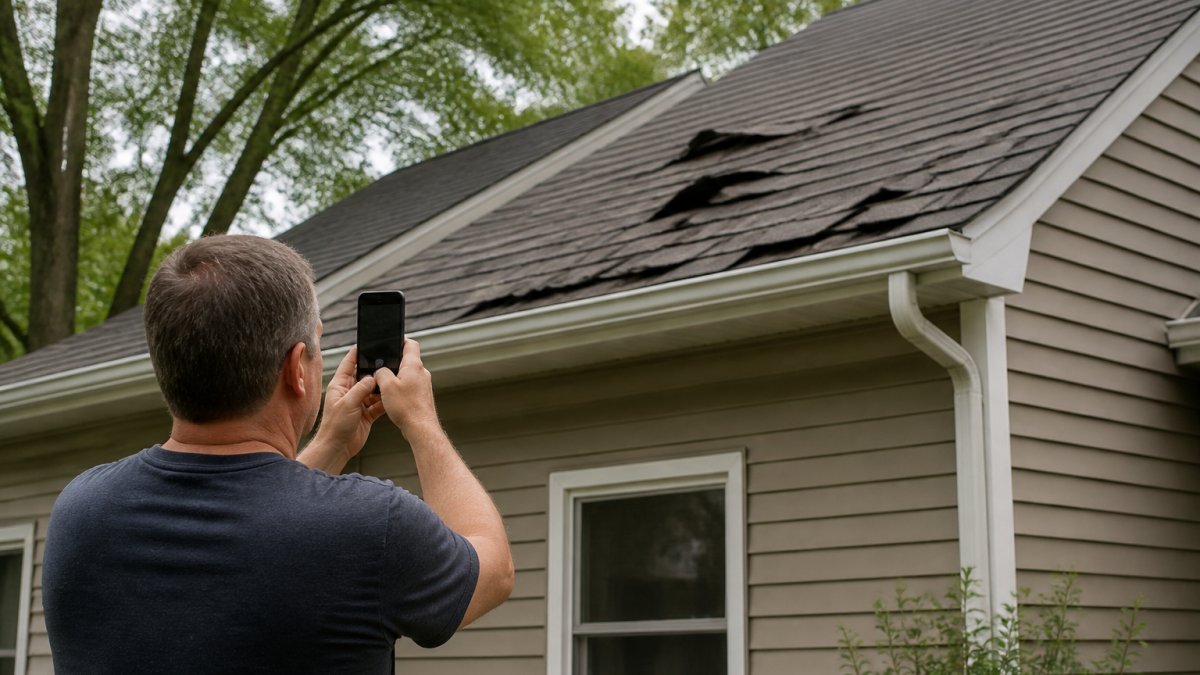
Safe Photography Techniques from Ground Level
Stay on the ground unless your roof is single-story and easily accessible. Never take unnecessary risks climbing.
Use these techniques for clear photos:
- Shoot in daylight. Morning or afternoon light shows damage better than midday sun. Avoid shooting into the sun.
- Get close to specific damage. Zoom in on missing shingles, creases, or dents.
- Capture roof angles. Take photos from at least two different positions.
- Include reference objects. Frame photos to show your roof against the house or gutters to prove the damage is on YOUR property.
- Photograph the date. Take a photo of that day's newspaper or your phone showing the date.
If you can't safely access a clear view, use binoculars or a telephoto lens. If damage is on a steep slope or second story, wait for your insurance adjuster.
Photographing Each Side and Roof Slope
Document all four sides of your roof. Storm damage often concentrates on the side facing the wind direction.
For each side: take a wide shot of the entire slope and roofline, zoom in on specific damage spots, capture gutters and downspouts, and note debris piles below.
Photograph roof vents, pipe boots, and chimney flashing, common damage points where hail and wind cause problems.
Photograph gutters and downspouts from multiple angles, showing dents, creases, holes, or separation. Gutter damage is easier to see and strengthens your claim.
Storm Damage Roof Inspection Checklist
Use this checklist to systematically inspect and document roof storm damage. Work through each section carefully.
| Inspection Area | What to Look For | Documentation Method |
|---|---|---|
| Shingles | Missing, cracked, creased, or curled shingles | Photo each damaged shingle, note location |
| Gutters & Downspouts | Dents, holes, separation, debris | Close-up photos from multiple angles |
| Roof Vents & Flashing | Dents, cracks, loose seals, separation | Photo each vent and boot |
| Fascia & Soffit | Cracks, dents, water damage, paint damage | Wide and close-up photos |
| Siding & Windows | Dents, cracks, broken glass, impact marks | Document impact patterns |
| Ground Debris | Shingle granules, roof material, branches | Photo debris piles and patterns |
| Interior Signs | Water stains, leaks, mold, ceiling damage | Photo any interior water damage |
Identifying Common Signs of Wind Damage
Wind damage appears as missing or lifted shingles and debris scattered across your property. Look for these signs:
Shingle damage from wind:
- Shingles completely missing, exposing the decking
- Shingles partially torn or peeled back
- Shingles lifted at the edges or curled
Structural damage from wind:
- Gutters pulled away from the roofline
- Soffit or fascia boards warped or dented
- Siding panels cracked or dented
Debris patterns:
- Shingle granules in gutters and on the ground
- Roof material scattered in your yard
- Debris concentrated on one side of your home (the downwind side)
Wind damage is easier to spot than hail damage. Take photos of every missing or lifted shingle.
Identifying Common Signs of Hail Damage
Hail damage looks like small dents or bruises on hard surfaces. It's subtle. Many homeowners miss it. Adjusters look for specific patterns.
Hail damage on shingles:
- Small, round dents in the shingle surface
- Bruised or crushed granules
- Dents concentrated in random patterns
Hail damage on soft metal:
- Dents in gutters, downspouts, and metal flashing
- Dents in metal roof vents and pipe boots
Hail damage patterns:
- Damage scattered across multiple surfaces (roof, gutters, siding, windows)
- Damage concentrated on the side of the home facing the storm
- Damage on both the roof AND ground-level surfaces (this proves hail, not wind)
Hail damage requires close-up photography. Zoom in on dents and bruises. Show the damage clearly so the adjuster can see the impact marks.
Inspecting Gutters, Downspouts, and Exterior Features
Gutters and downspouts show damage clearly and are easier to photograph than roof damage. Document them thoroughly.
Photograph your gutters from multiple angles: wide shots of the entire line, close-ups of dents or separation, and photos of gutters pulling away from the fascia.
Check downspouts for dents, creases, holes, cracks, and separation at seams.
Inspect roof vents, pipe boots, and flashing: photograph dents, cracks, separation, and water staining around vents.
Check siding, fascia, and soffit for impact marks, cracks, paint damage, and separated or warped boards.
Book my free Roof Quote Today →
How to Describe Roof Damage to Insurance
Use specific language when contacting your insurance company. Vague descriptions hurt your claim; detailed descriptions help it.
Describe location clearly: "The damage is on the south-facing slope" or "concentrated in the lower third of the roof, near the gutters."
Describe damage type: "Shingles are missing, exposing the roof decking" or "Gutters have multiple dents and are pulling away from the roofline."
Describe extent: "Approximately 20-30 shingles are missing" or "Damage covers roughly 15-20 feet of the roofline."
Reference your photos: "I've documented the damage with photos taken on [date] from multiple angles and distances."
At Roof King LLC, we help homeowners describe their damage accurately to insurers.
Roof Storm Damage Claim Timeline and Deadlines
Insurance claim deadlines vary by policy and state, but they're strict. Missing a deadline costs you the claim. Know your timeline.
Immediate (within 24-48 hours):
- Notify your insurance company of the damage
- Ask for claim deadlines and required documentation
- Document the storm with weather reports
Short-term (within 3-7 days):
- Complete your photo documentation
- Create your evidence log (see below)
- Contact your insurance adjuster to schedule an inspection
Medium-term (within 14-30 days):
- Attend the adjuster's inspection
- Provide all documentation to your insurer
- Obtain a contractor estimate if required by your policy
Long-term (varies by policy):
- Most policies require claim submission within 1-3 years of the damage
- Some policies have shorter windows for specific damage types
- Check your policy documents for exact deadlines
Don't delay. The longer you wait, the harder it is to prove the damage was caused by the storm, not wear and tear. Weather patterns change, debris clears, and memory fades. Document immediately.
Creating Your Evidence Log and File-Naming System
Organize your documentation so your insurance adjuster can find everything easily. A disorganized claim looks unprofessional and raises red flags.
Create a simple spreadsheet or document with these columns:
| Photo/Document | Date Taken | Location | Damage Type | File Name |
|---|---|---|---|---|
| Photo | 10/5/2026 | South roof slope | Missing shingles | 20261005_Roof_South_MissingShingles_01 |
| Photo | 10/5/2026 | Front gutter | Dents | 20261005_Gutter_Front_Dents_01 |
| Weather report | 10/5/2026 | Local | Storm data | 20261005_WeatherReport_Storm |
| Estimate | 10/7/2026 | Contractor | Repair cost | 20261007_ContractorEstimate_RoofKing |
Use a consistent file-naming system:
- Start with the date: YYYYMMDD (20261005)
- Add the location: Roof, Gutter, Siding, etc.
- Add the damage type: MissingShingles, Dents, Creases, etc.
- Add a sequence number: 01, 02, 03, etc.
- Example: 20261005_Roof_South_MissingShingles_01.jpg
This system makes it easy to find specific photos and proves you documented systematically. Adjusters respect organized claims.
Store all files in a single folder labeled with your claim number. Back up the folder to cloud storage (Google Drive, OneDrive, Dropbox). If your computer fails, your evidence is safe.
Distinguishing Storm Damage from Wear and Maintenance Issues
Insurance covers storm damage, not wear and tear. Adjusters will look for reasons to deny your claim. Know the difference so you can argue your case.
Storm damage appears suddenly after a weather event. Wear and tear develops gradually over years. Storm damage is concentrated in one area or pattern.
Missing shingles from a storm: Shingles are completely gone, exposing the roof decking. The surrounding shingles are intact. The damage matches the storm's wind direction.
Missing shingles from wear: Shingles are partially missing or crumbling at the edges. Multiple shingles show advanced deterioration. The damage is scattered across the entire roof.
Dented gutters from hail: Gutters show fresh, round dents. The dents are concentrated in one area or pattern. Soft metal surfaces (downspouts, flashing) show matching dents.
Dented gutters from age: Gutters show old, flattened dents. The metal is rusted or discolored. Dents are scattered randomly across the entire gutter system.
Creased shingles from wind: Shingles are creased or curled but still attached. The damage is concentrated on one slope. The creases match the wind direction.
Curled shingles from age: Shingles are curled at the edges uniformly across the roof. The shingles show fading and granule loss. The damage is widespread, not concentrated.
Document the storm date and weather conditions. This proves the damage occurred suddenly, not gradually. Include weather reports showing wind speeds, hail size, or heavy rain.
Documenting roof storm damage properly protects your insurance claim and ensures fair settlement. When you're ready to repair your roof, we'll assess your damage, work with your insurance company, and deliver the high-quality workmanship your home deserves.
Frequently Asked Questions
What photos should I take to document roof storm damage?
Photograph each side of your roof from ground level, capturing the roofline, shingles, and any visible damage like missing or creased shingles. Include wide shots showing the overall roof slope and close-ups of specific damage areas. Photograph gutters, downspouts, roof vents, pipe boots, and fascia. Take photos in well-lit conditions, ideally during daytime, and include the date and time stamp. Videos panning across damaged areas provide additional evidence of the extent of damage.
How long after a storm can you report roof damage?
Report roof damage to your insurance company as soon as possible, ideally within 24-48 hours of the storm. Most homeowners insurance policies require prompt reporting. Check your specific policy for exact deadlines, as some carriers impose time limits on filing claims. Delaying the report may give your insurer grounds to deny coverage or dispute the damage as pre-existing. Document damage immediately after the storm while evidence is fresh and visible.
Should I get a professional roof inspection before filing an insurance claim?
A professional roof inspection strengthens your claim by providing expert assessment of storm damage versus normal wear. A contractor can identify damage not visible from ground level and create a detailed inspection report with photographs. This documentation helps prevent insurers from denying claims due to insufficient evidence. However, you can file a claim based on your own documentation first; many insurers send their own adjuster to assess damage. A professional inspection is valuable when the adjuster's assessment seems incomplete or disputes your damage claims.
What documents should I keep for a roof storm damage claim?
Keep all photographs and videos, your weather report confirming the storm date and time, your inspection checklist and observations, any contractor estimates or professional inspection reports, your insurance policy documents, and written communication with your insurer. Create a file-naming system that includes the storm date and damage type (for example, 2026-01-15_roof_hail_damage_east_side). Preserve these files in multiple locations. Document the date you discovered the damage and when you reported it to your insurer, as timeline documentation supports your claim.